Just want the list? Jump to my shopping list ↓
A little note: some links in this guide are affiliate links, so I may earn a small commission if you buy through them, at no extra cost to you. As an Amazon Associate, I earn from qualifying purchases. I only recommend supplies I actually use.
If you’re brand new to soft pastel, figuring out what supplies you need can get overwhelming very quickly.
There are hundreds of colors. Hard pastels, soft pastels, half sticks and full sticks. Sanded papers with different grits. Fixatives. Blending tools. And approximately one million opinions about which of those things you absolutely must have before you can begin.
Here’s the good news:
You really don’t need very much.
When I first began painting with soft pastel, I certainly didn’t own the collection I have today. And you don’t need the “perfect” set or every color imaginable to make something beautiful.
A few good pastels, the right surface, and permission to play are more than enough to begin.
So if you’ve been wanting to try soft pastel but aren’t sure what to buy, let me make this simple.
QUICK START
What supplies do you need for soft pastel painting?
At the most basic level, you need:
- A set of soft pastels
- Paper with enough texture, or “tooth,” to hold the pastel
- Something to secure your paper while you work
- A few simple cleanup supplies
That’s it.
There are plenty of wonderful supplies you can add later. In fact, discovering new pastel brands, textures, colors, and papers has become one of my favorite parts of the medium.
But those things can come with time.
Your first goal is simply to begin.
1. Soft Pastels
Let’s start with the obvious one!
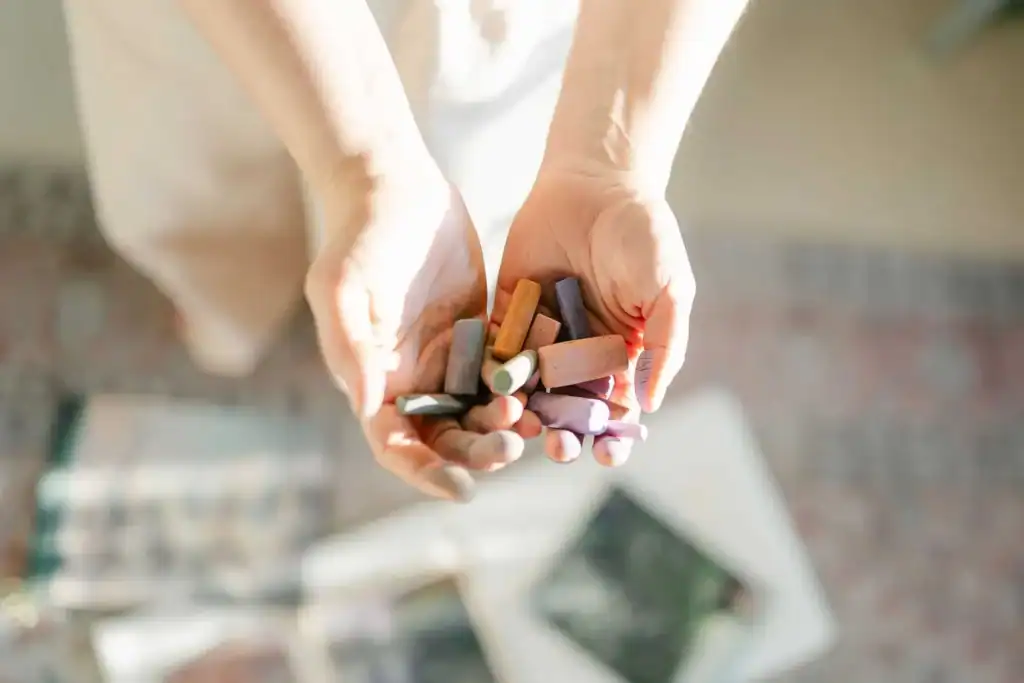
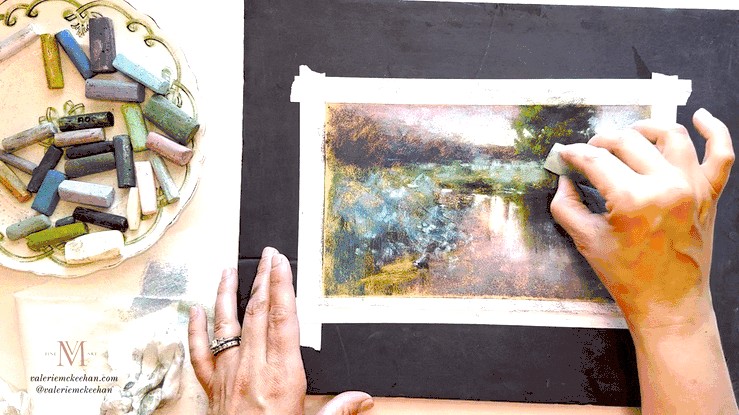
Soft pastels are sticks of dry pigment held together with a small amount of binder. Unlike paint, there’s no brush standing between you and the color. You hold the pigment directly in your hand and make marks on the surface.
That tactile quality is one of the things I adore about pastel.
You’ll eventually discover that different brands have very different personalities. Some are incredibly soft and buttery. Others are firmer and allow you to create different kinds of marks.
But you absolutely do not need to understand all of that before buying your first set.
An affordable beginner option: Paul Rubens
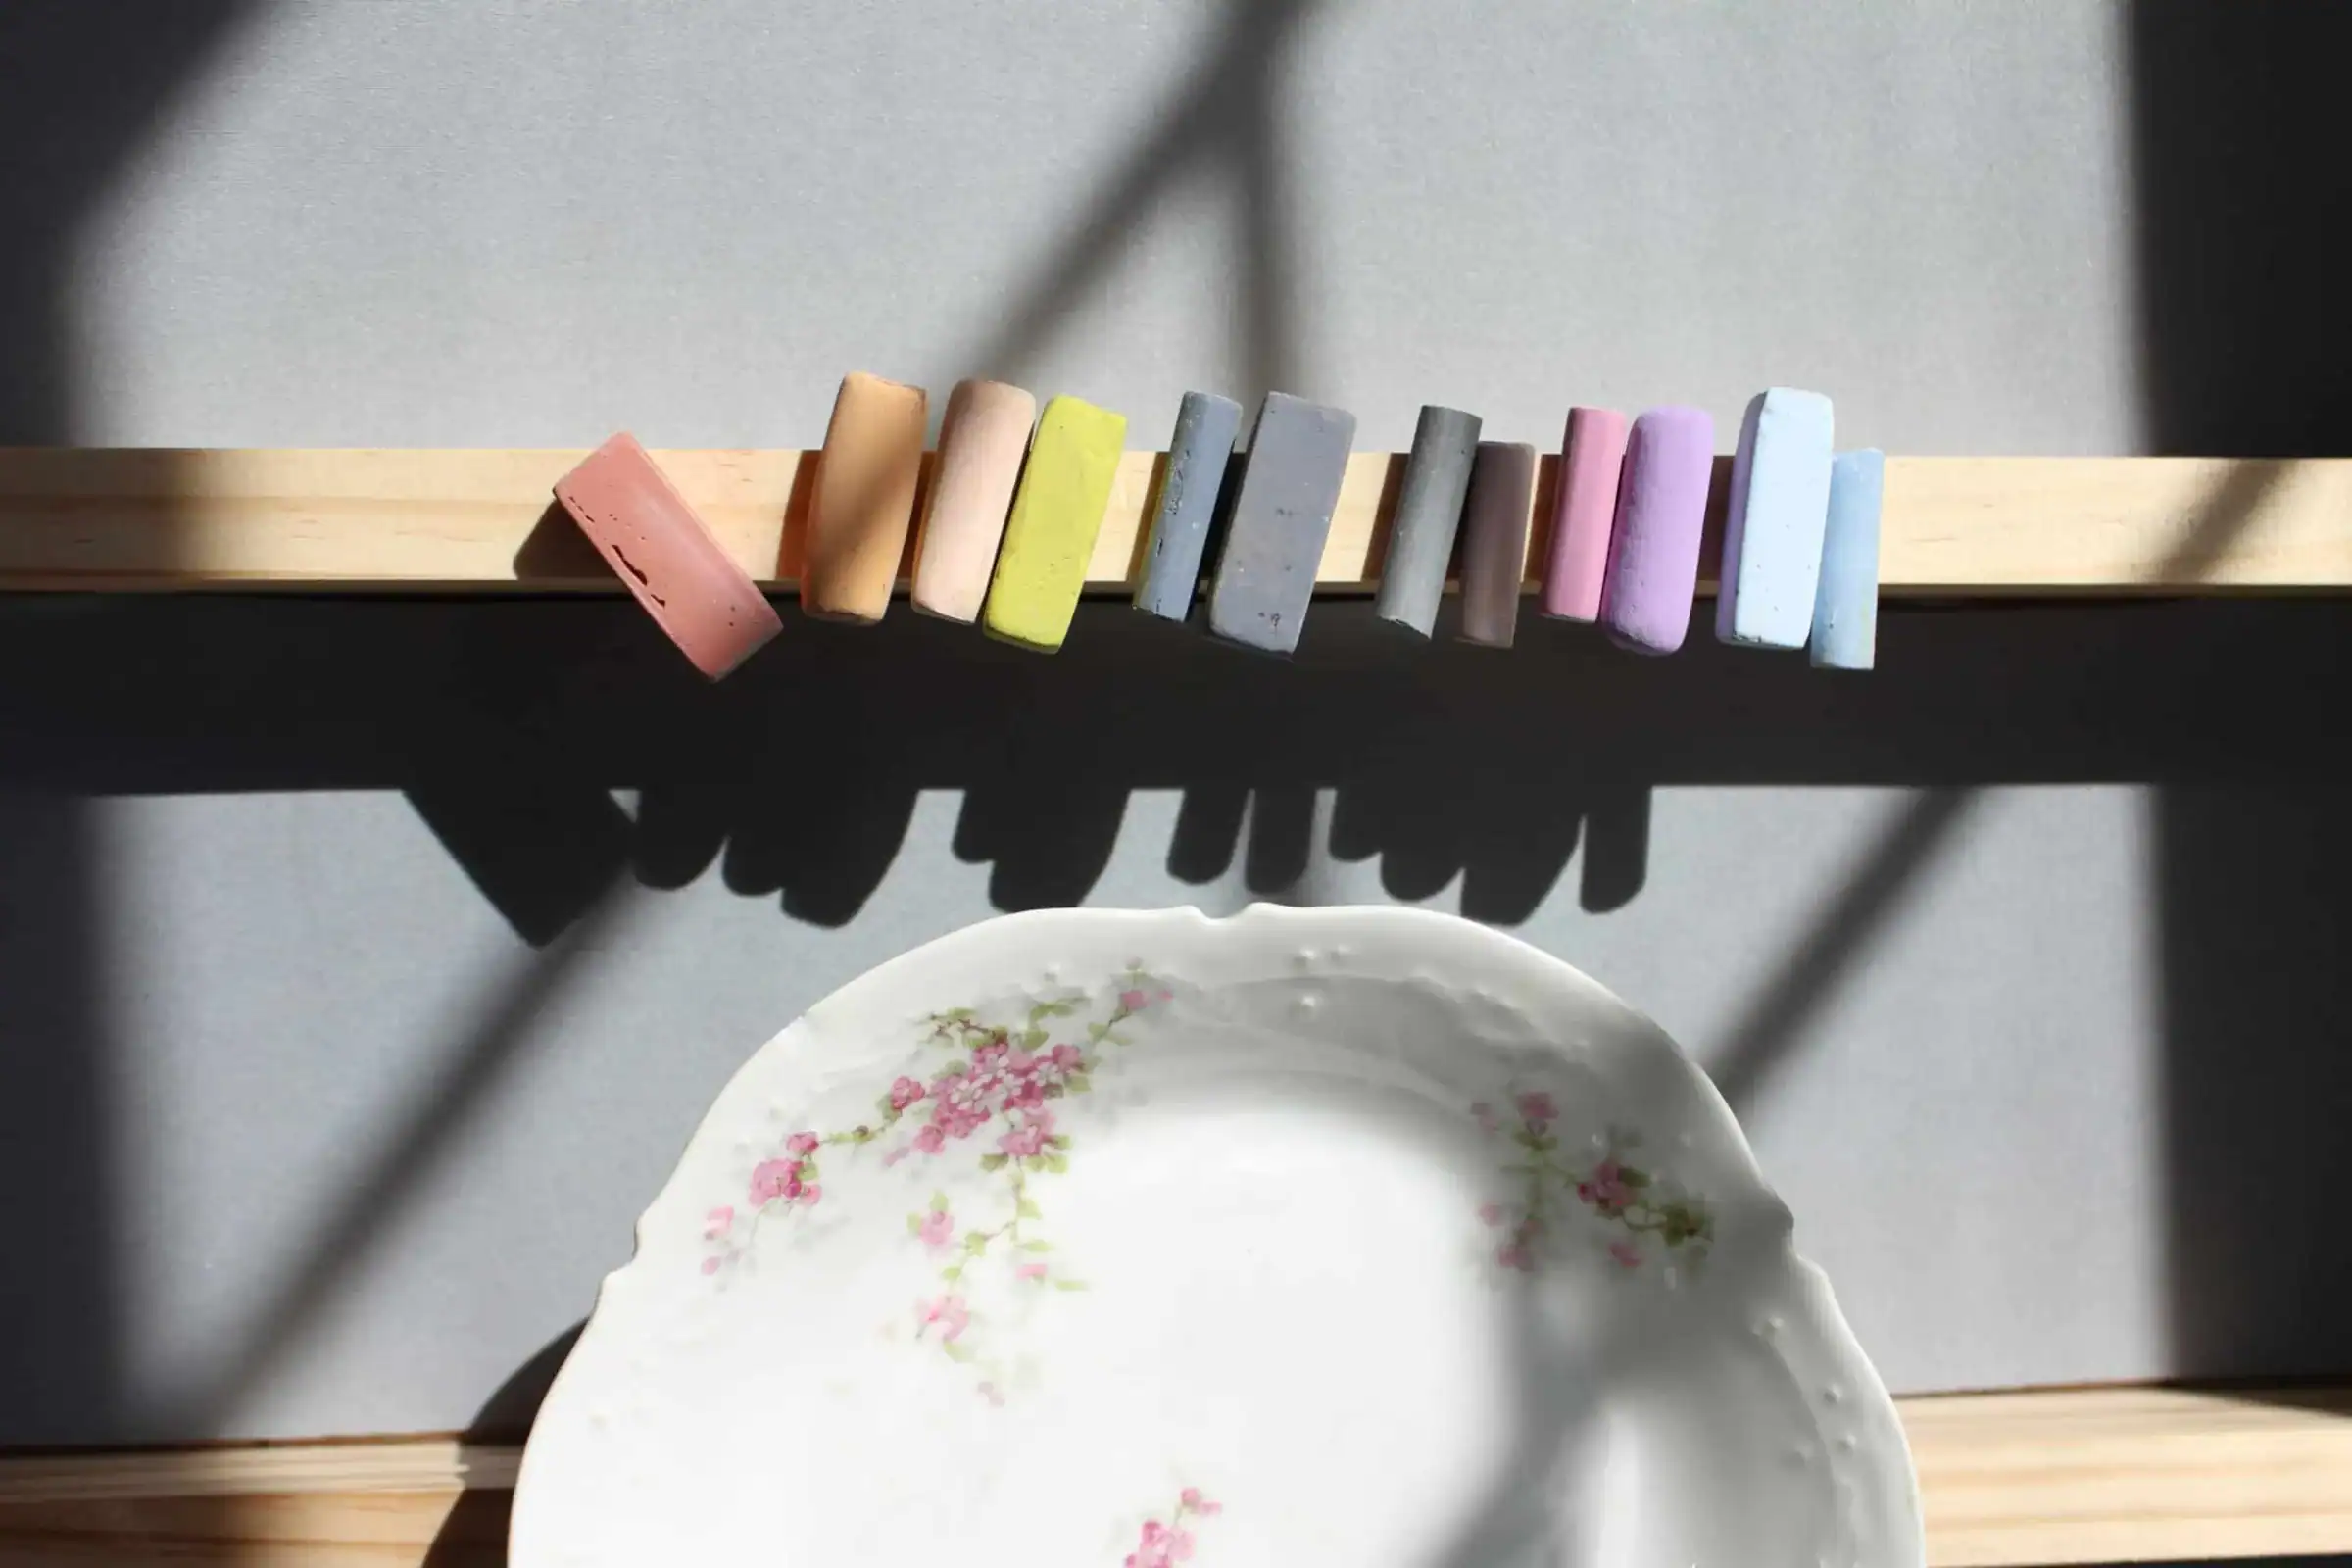
If you’re not even sure whether you’ll enjoy soft pastel yet, I like Paul Rubens Soft Pastels as an inexpensive place to begin.
They’re available at a relatively low price point, the quality is nice for getting started, and the sets give you a lovely range of colors to play and experiment with.
This is the kind of set I’d choose if your thought is:
I really want to try this, but I’m not ready to spend a fortune on art supplies.
Perfect. You don’t need to.
My professional choice: Sennelier
If you already suspect that soft pastel is going to be your thing and you’d rather begin with professional-quality pastels, Sennelier has a very special place in my heart.
Sennelier was actually the brand I started with when I began my own soft pastel journey, and I still use them in my paintings today.
They’re beautifully soft and have that wonderful buttery feeling that makes soft pastel so satisfying.
The Sennelier Plein Air Landscape Half Stick Set of 30 is a beautiful starting place.
If you eventually want a much larger collection, I also love the Sennelier Paris Collection of 120 Half Sticks. It’s the set I use in my own painting practice and in my more in-depth soft pastel teaching.
But please hear me:
You do not need 120 pastels to start painting.
A smaller set is more than enough.
Over time, collecting colors and discovering different brands can become part of the fun.
Rather than something to feel overwhelmed by, think of it as a creative adventure unfolding over time.
If you were the kind of child who loved collecting little treasures, this medium may be especially magical for you. Lip Smackers over here.
A special set I created with Earthberry Pastels
As you get deeper into soft pastel, I also have to mention something very special to me: my Meadows Signature Pastel Set with Earthberry Pastels.
I personally selected every color in this set to create a range of colors and values that I love working with.
Because these pastels are handmade in small batches, availability can vary. And I wouldn’t tell a brand-new artist that they need this set to begin.
But when you’re ready to grow your collection, it’s a beautiful option and one that I love using in my own work.
2. The Right Paper Matters More Than You Might Think
If there’s one beginner mistake I would love to save you from, it’s assuming that any piece of paper will work equally well with soft pastel.
It won’t.
Pastel needs something to grab onto.
Artists usually call this texture the paper’s “tooth.”
A very smooth piece of paper doesn’t give the pigment much to hold onto, which can make pastel frustrating to work with.
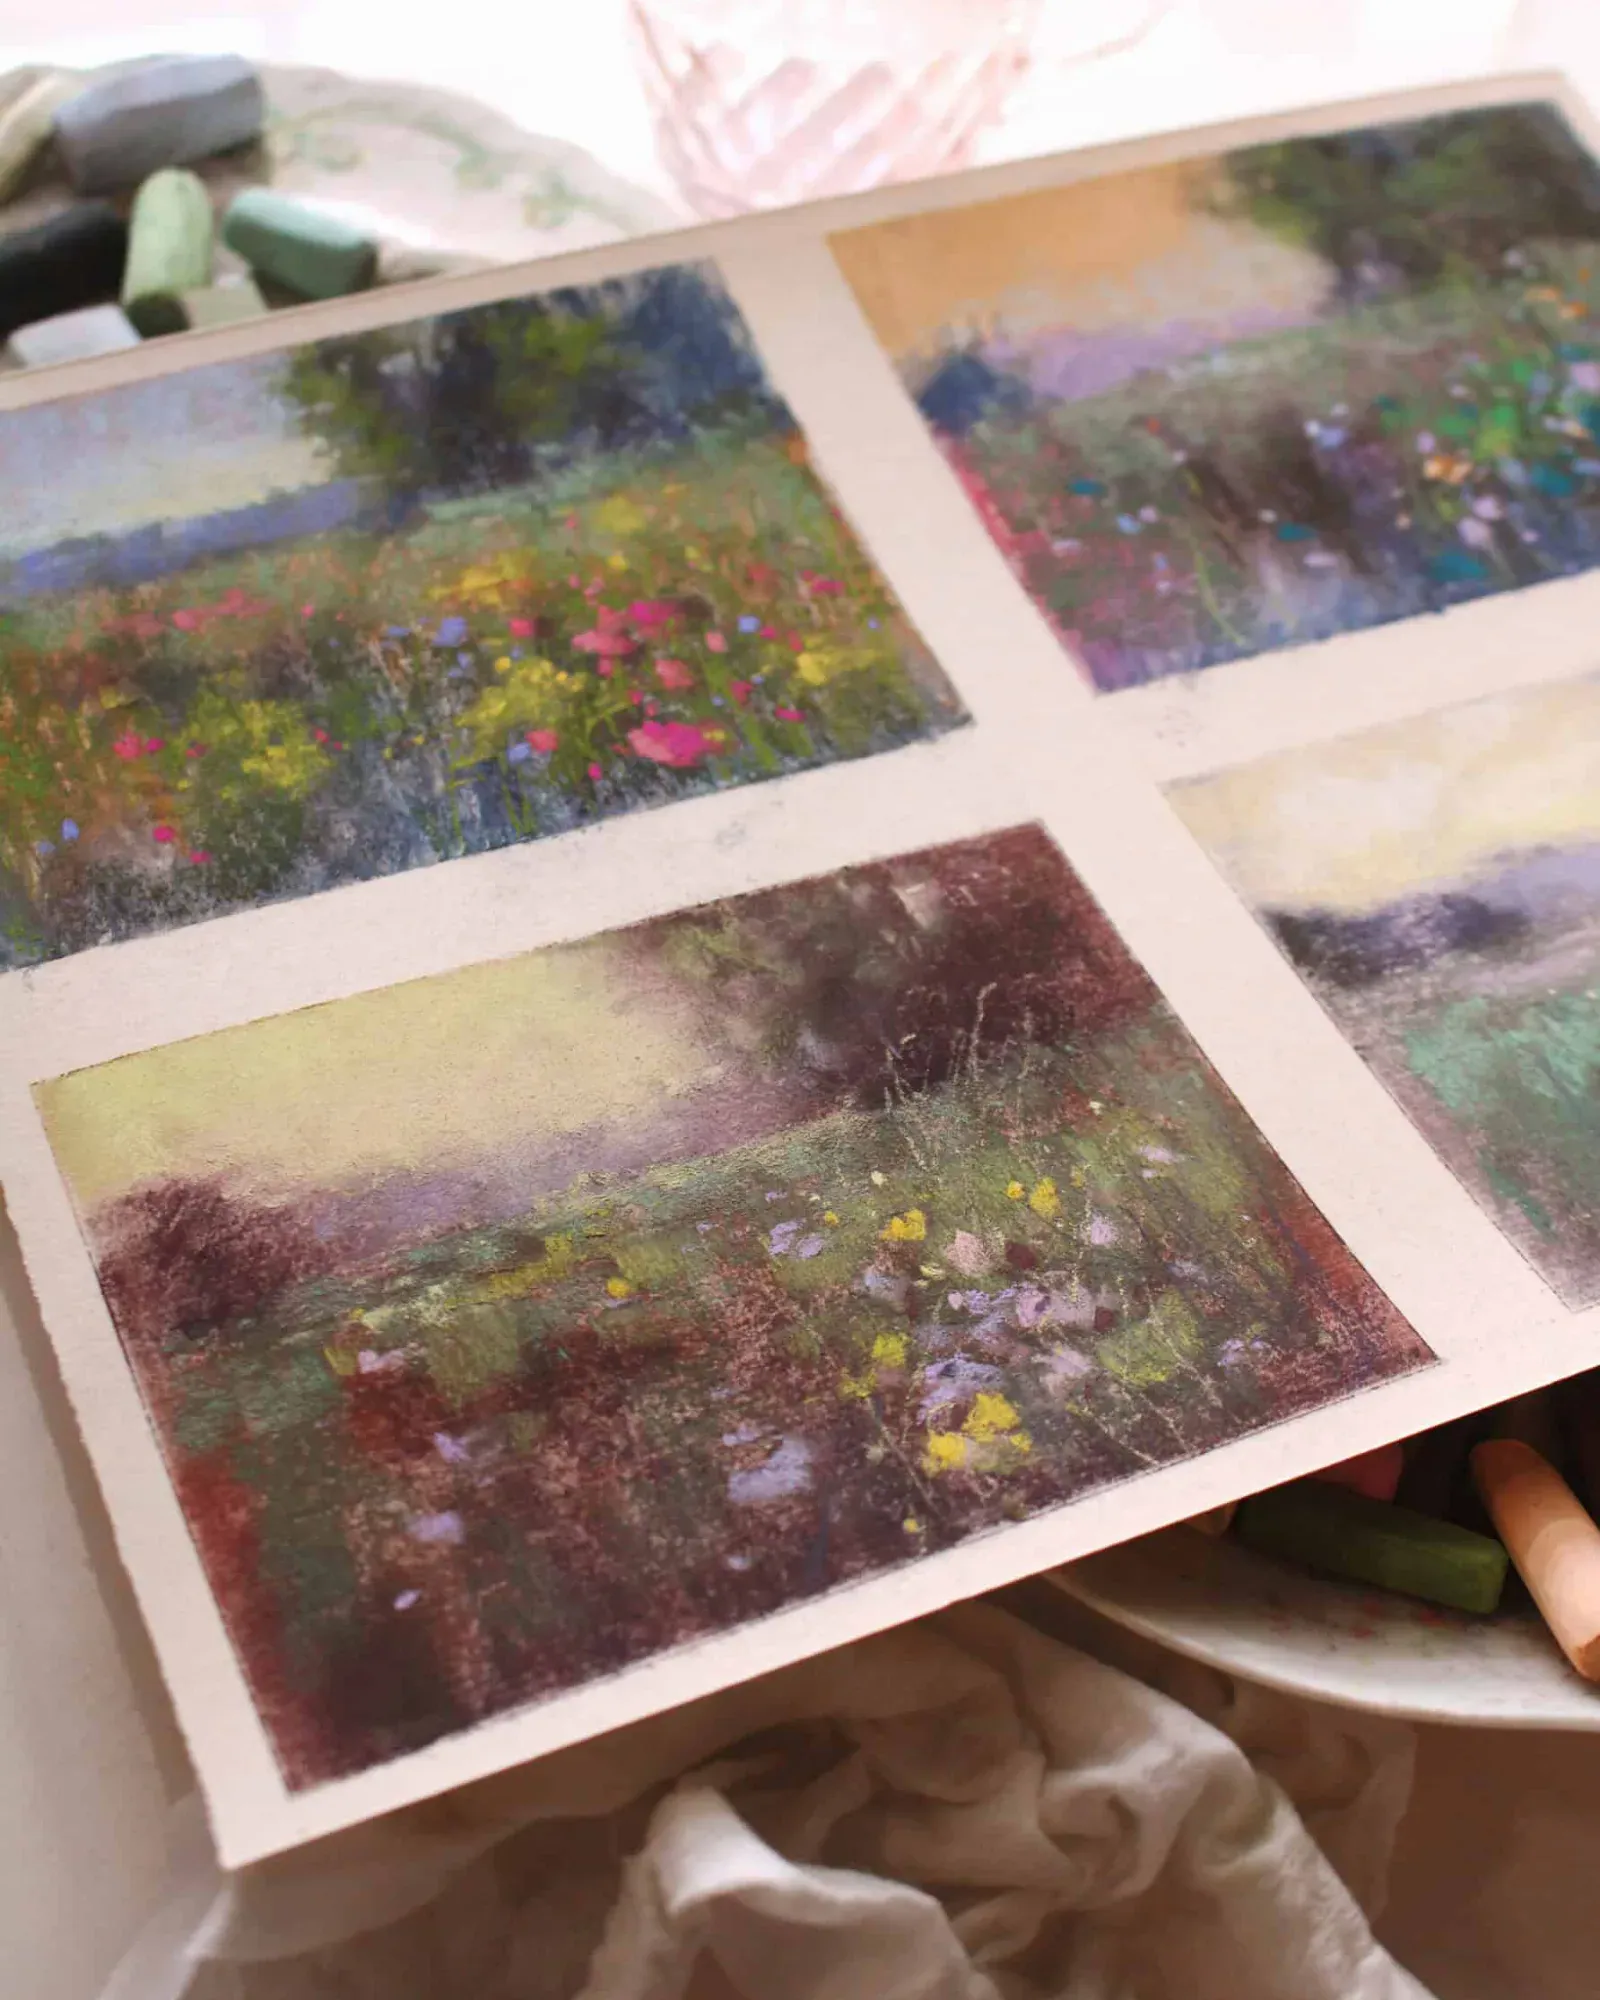
A textured or sanded surface gives you more ability to build layers and create the beautiful broken marks that I love in impressionistic pastel painting.
I personally prefer working on sanded paper for much of my studio work.
My favorite premium option: Lux Archival
One of my favorite professional surfaces is Lux Archival Professional Sanded Art Paper.
The tooth grips pastel beautifully, it comes in convenient standard sizes such as 8×10 and 11×14, and the paper doesn’t buckle even when wet.
This is a beautiful surface if you know you want to pursue pastel and want to experience what professional pastel paper feels like.
Another great option: UArt 400
I also love UArt 400 Grit Sanded Paper.
It comes in convenient pads and accepts lots of layering beautifully.
One thing to know is that UArt can curl, so I like to tape mine to a sturdy piece of foam core while I work.
Both Lux Archival and UArt are professional papers. They’re more expensive, but they allow for many layers and techniques that are wonderful for the impressionistic look I love.
Which brings me to one of my favorite beginner tricks.
3. An Inexpensive Beginner Surface: Watercolor Paper + Clear Gesso
You absolutely do not need expensive pastel paper to experiment with this medium.
You can make your own pastel surface using something you may already have:
Watercolor paper and clear gesso.
Brush a thin layer of clear gesso over the watercolor paper and let it dry.
The gesso adds grit to the surface, giving your pastel pigment something to grab onto.
And yes, I really do mean clear gesso, not white gesso.
I use this technique myself. It’s inexpensive, simple, and a wonderful way to test the waters before investing in professional sanded paper.
If your biggest concern is spending a lot of money before you know whether you like pastel, this is where I would begin.
4. Do You Need Pastel Fixative?
Not necessarily.
When I’m creating finished work on pastel-specific sanded paper, I don’t always use fixative. The tooth of a good sanded surface does a wonderful job of holding pigment on its own.
Where I do find fixative especially helpful is when I’m creating with soft pastel in an art journal or working on a less textured surface.
My personal choice is Sennelier Fixative. I’ve tried many different options, and it’s the one I prefer.
For art journaling in particular, I consider fixative important because those pages are going to be turned, handled, and revisited. A light spray helps set the pigment and protect the work.
But for your very first supply order?
I wouldn’t consider fixative mandatory.
Start with your pastels and surface first.
5. A Few Inexpensive Extras That Make Painting Easier
There are a handful of little things I keep nearby that make working with pastel much easier.
Artist or masking tape is useful for securing your paper and can also create that satisfying crisp border around a finished painting.
Foam core makes an inexpensive backing board. I often tape my paper directly to it while I work.
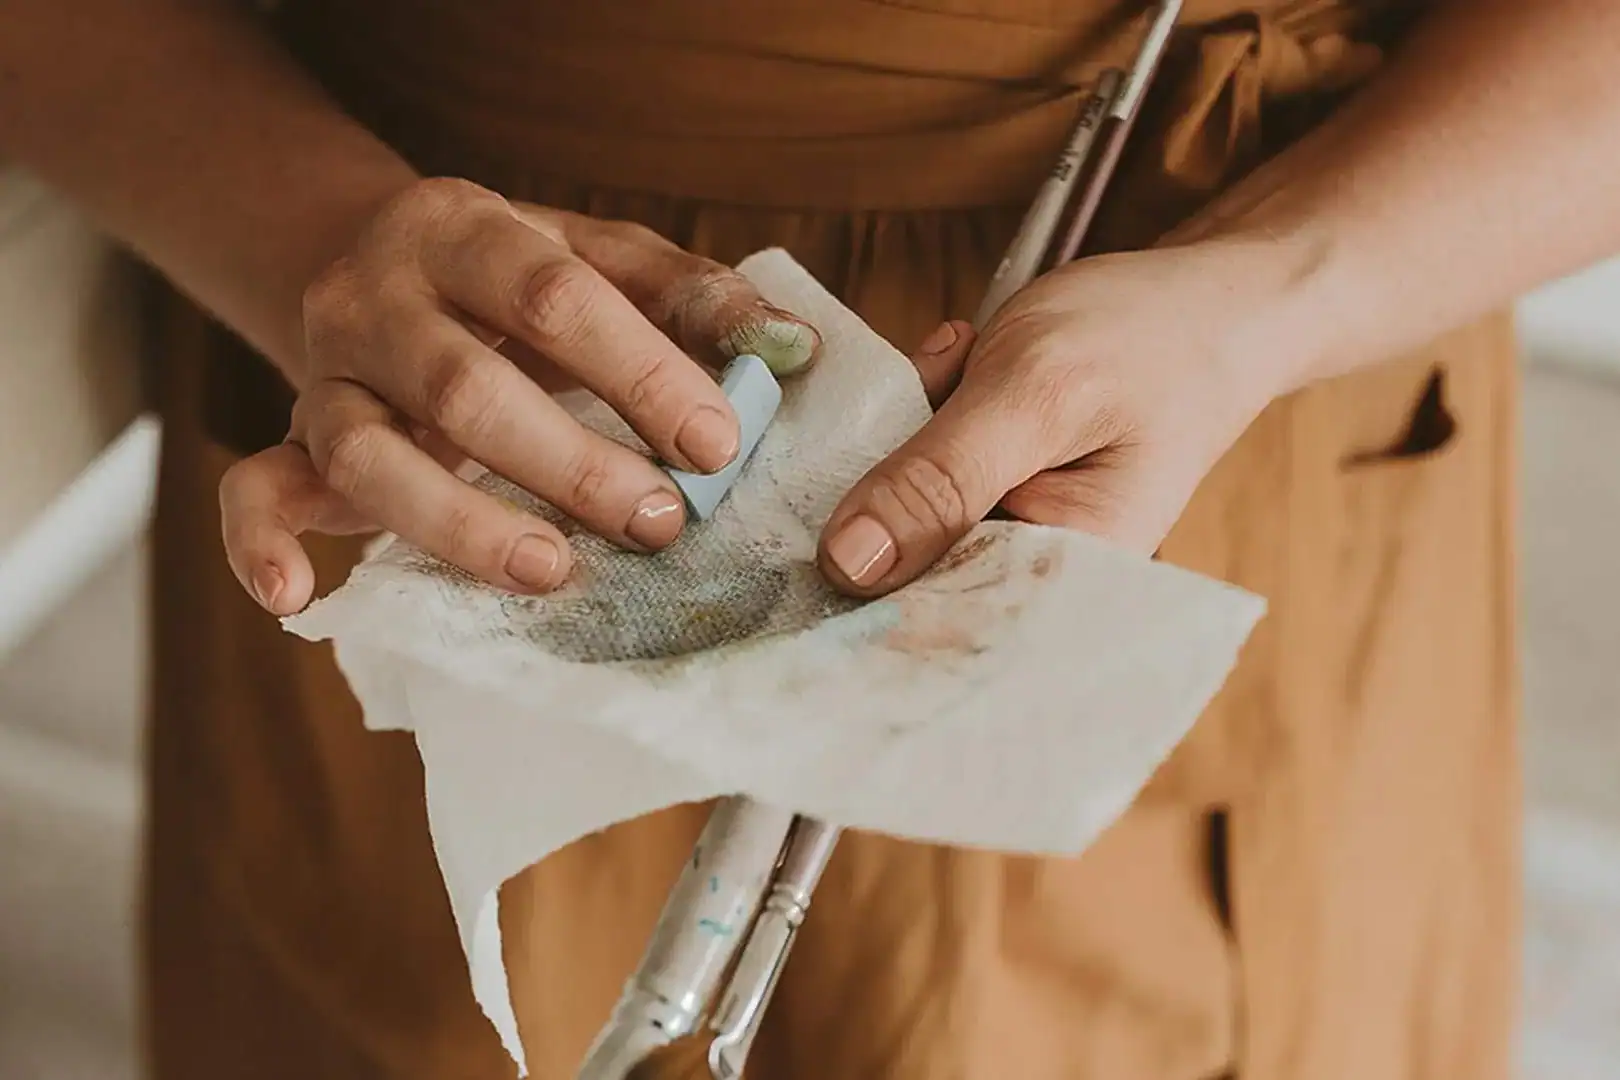
Baby wipes and paper towels are worth keeping within reach because, wonderfully and inevitably, pastels get messy.
If you’re preparing watercolor paper with clear gesso, you’ll also want an inexpensive brush.
And finally, you may want a blending tool, especially when working on sanded paper.
Even something as simple as a packing peanut or makeup blender can work and save your fingers from rubbing directly against the gritty surface.
None of this needs to be fancy.
My Simple Soft Pastel Shopping List for Beginners
If I wanted to experiment with soft pastel without spending much money, I would keep my first shopping list incredibly simple.
Pastels
Surface
Things You May Already Have
- Artist or masking tape
- A piece of foam core
- An inexpensive brush
- Paper towels or baby wipes
That is enough.
Really.
If I knew I wanted to invest a little more from the beginning, I’d choose the Sennelier Plein Air Landscape Half Stick Set of 30 and either Lux Archival Professional Sanded Art Paper or UArt 400 Grit Sanded Paper.
You can build from there.
Please Don’t Wait for the Perfect Supplies
This may be the most important thing I can tell you.
Buying art supplies can very easily become another way of postponing making art.
You research another pastel set.
Watch another comparison.
Read another review.
Build the perfect shopping cart.
And somehow you still haven’t made a mark.
If you already have some pastels sitting in a drawer somewhere, use those.
If you have watercolor paper, try preparing it with clear gesso.
If all you want to do right now is watch someone paint with pastel before deciding whether you want to invest in supplies, that’s perfectly wonderful too.
There is no perfect set waiting somewhere that will suddenly make you an artist.
You’re already an artist.
The supplies just give you something to make marks with.
Want a Complete Beginner’s Guide to Soft Pastel?
If you’re the kind of person who wants to understand the medium a little more before diving in, I created The Ultimate Beginner’s Guide to Modern Soft Pastel.
It’s a deeper resource for beginning your soft pastel journey and something you can return to as you explore the medium and build your own pastel practice.
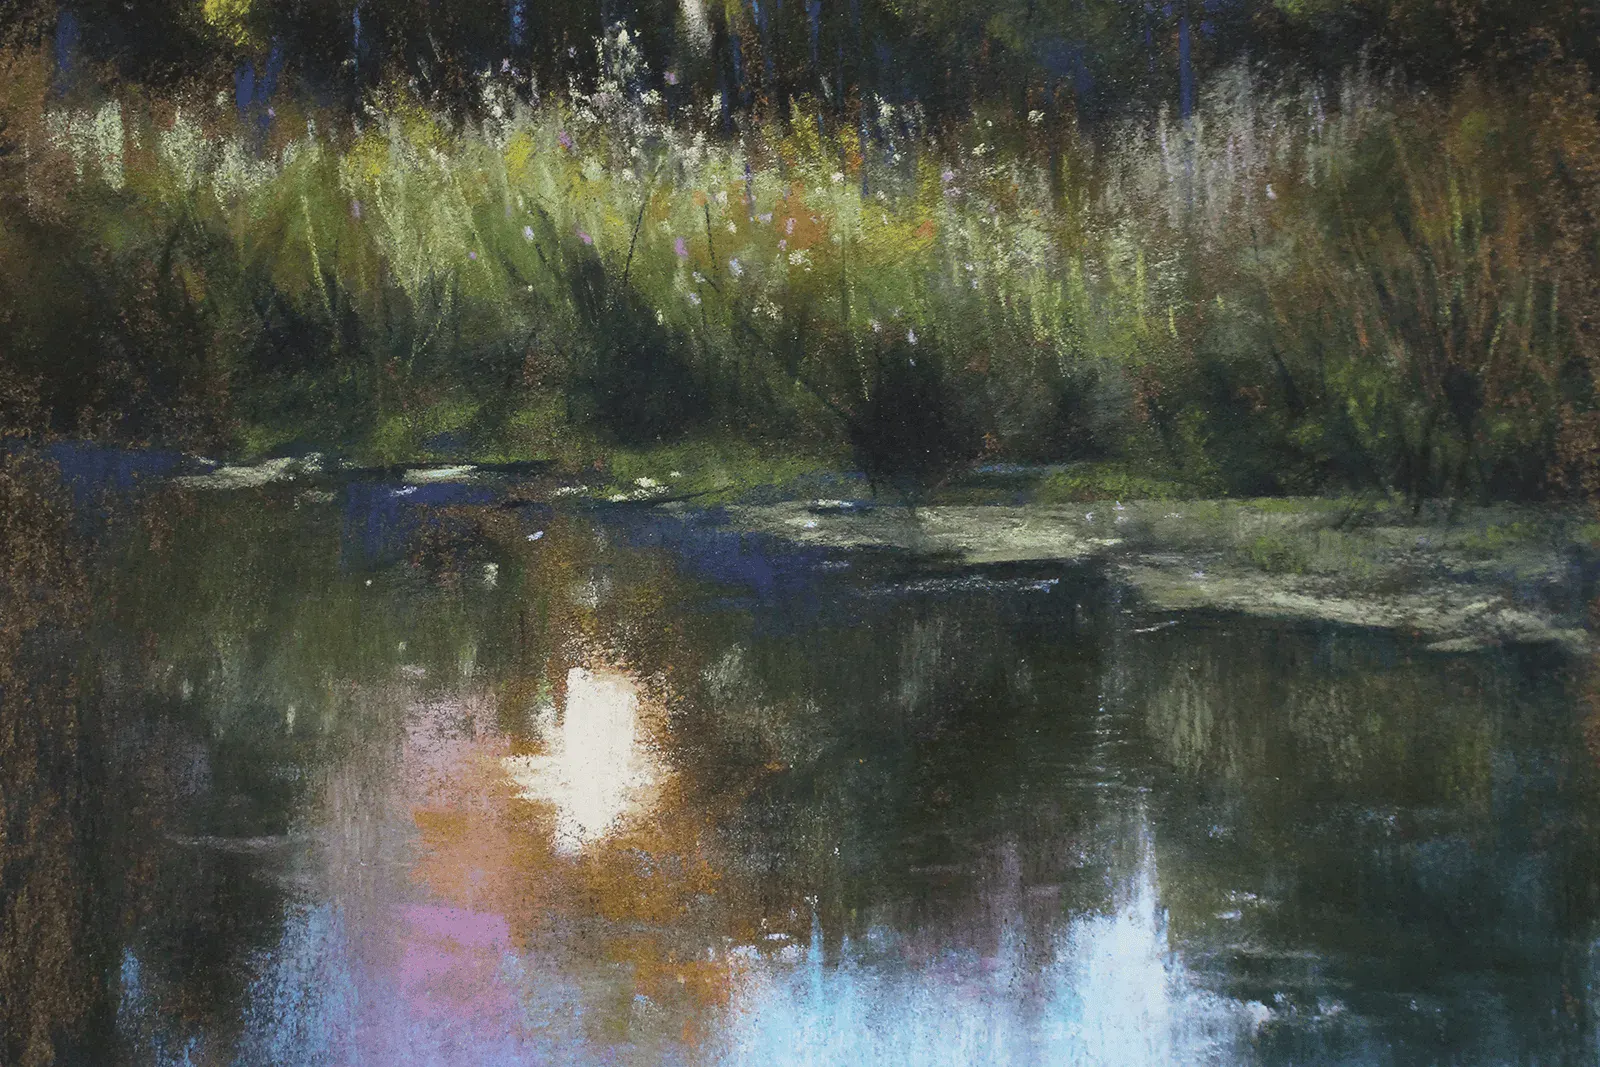
Ready to Actually Paint? Come Paint With Me.
If you’re looking at all of this thinking, Okay Valerie, I’ve got the supplies. Now what do I actually do with them?
I’d love to show you.
Discovering Soft Pastel is my beginner-friendly, two-hour workshop designed to help you experience this beautiful medium without pressure or overwhelm.
We’ll paint together, and I’ll walk you through the process step by step.
You don’t need prior art experience.
You don’t need an enormous pastel collection.
And you definitely don’t need to wait until you feel like you’re “good enough.”
And if you don’t have your supplies yet, that’s okay too.
Start watching now, see how everything works, and gather what you need when you’re ready.